Step by Step DNS Configuration :
The Domain Name System (DNS) is a hierarchical distributed naming system for computers, services, or any resource connected to the Internet or a private network. It associates various information with domain names assigned to each of the participating entities. A Domain Name Service resolves queries for these names into IP addresses for the purpose of locating computer services and devices worldwide. By providing a worldwide, distributed keyword-based redirection service, the Domain Name System is an essential component of the functionality of the Internet.
An often-used analogy to explain the Domain Name System is that it serves as the phone book for the Internet by translating human-friendly computer hostnames into IP addresses. For example, the domain name www.example.com translates to the addresses 192.122.43.10 (IPv4) and 2620:0:2d0:200::10 (IPv6).
DNS Server Configuration:
First, to check the DNS packages use the following command.
$rpm -qa | grep bind
BIND is the package name for DNS.
If it is not installed, install the bind package first.

The main configuration file for DNS is /etc/named.conf.
Edit this configuration file, to add the domains and zones.

Add the domain name.
Add the forward lookup zone file name and reverse lookup zone file.

The forward zone file and reverse lookup zone files are located at /var/named.

For security purpose, linux uses the chroot also.
/var/named/chroot/var/named ---- create a forward zone and reverse lookup zone file.

Create a forward lookup zone file and specifies the name which you defined in /etc/named.conf.
vi /var/named/chroot/var/named/forward.zone

In this forward lookup zone file, add the resource records.
For ex:
NS --- Name Server Record
SOA -- Start of Authority
A --- Internet Address Record
MX -- Mail exchange record
CNAME -- Canonical Name
AAAA --- IPV6 Address Record

Create the reverse lookup zone file in the name of which you defined in the /etc/named.conf file.

Add the resource records in this file.
SOA
PTR --- Pointer Records
NS --- Name Server Records

Then create a link file to /var/named location

Then edit the /etc/resolv.conf file. And also this is the only file to edit in the client system.

Add the domain name and Name Server information in this file.

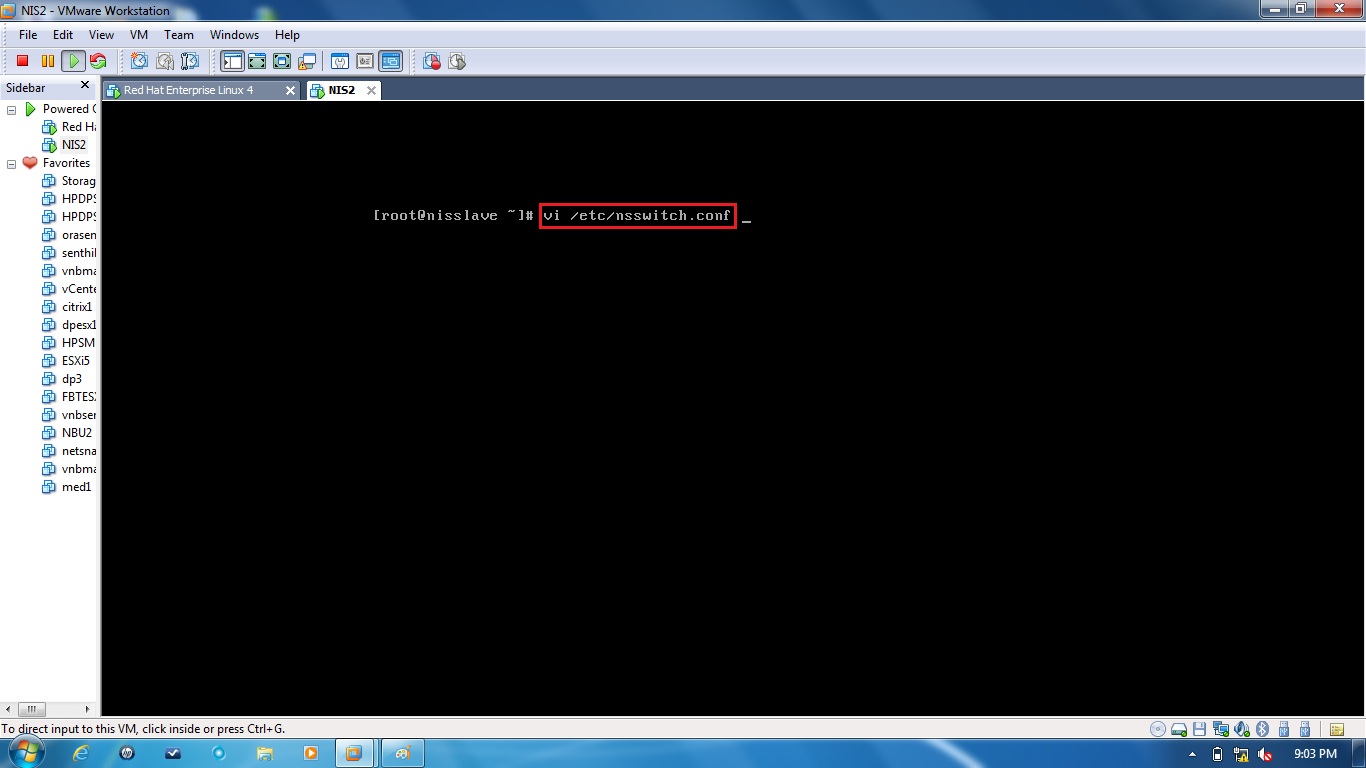
Edit the /etc/nsswitch.conf file to change the priority of the resolve.
We can use DNS, NIS and Local hosts files.
Edit and set the first priority is DNS.

Any changes in your named.conf file and zone files, you need to restart the DNS services.
The DNS daemon name is named.
To check the named daemon is running or not use the following command.
#service named status
#/etc/inetd.d/named status
If the service is already running, restart the service.
#service named restart

If the daemon successfully restarted, then you check the dns.
DNS commands are :
nslookup
host
dig
nslookup <domain Name>
It will list the name server information with the port numbers.


host <hostname> ---- command resolves the ipaddress from forward lookup zone file.

host <ipaddress> ---- command points to the host name.

Now i am logging to the client,
Edit the /etc/resolv.conf file.
Add the domain name and Name Server information.


IN the client side check with nslookup command and host command


ping with the host name, it resolves the ipaddress and it is start pinging.

DIG -- (Domain Information Grapher)
dig also command to query the DNS server record and server information.


IN server server side all the logs are stored in the /var/log/messages file.

No comments:
Post a Comment