Tuesday, August 16, 2016

RedHat OpenStack Installation

OpenStack Installation:


Red Hat Enterprise Linux OpenStack Platform is Red Hat's supported distribution ofOpenStackRed Hat Enterprise Linux OpenStack Platform uses the Red HatEnterprise Virtualization (RHEV) hypervisor, which is based on the open source KVM hypervisor.

OpenStack Defined:

According to the definition at OpenStack.org:

“OpenStack is a cloud operating system that controls large pools of compute, storage, and networking resources throughout a datacenter, all managed through a dashboard that gives administrators control while empowering their users to provision resources through a web interface.”


OpenStack Components:

•OpenStack Compute (code-named “Nova”)
• OpenStack Object Store (code-named “Swift”)
•OpenStack Image (code-named “Glance”)
• OpenStack Identity (code-named “Keystone”)
• OpenStack Block Storage (code-named “Cinder”)
•OpenStack Networking (formerly code-named “Quantum” now Neutron)
•OpenStack Dashboard (code-named “Horizon”)


OpenStack Installation:

1. Install the Redhat Linux 7 or Cent Os 7.
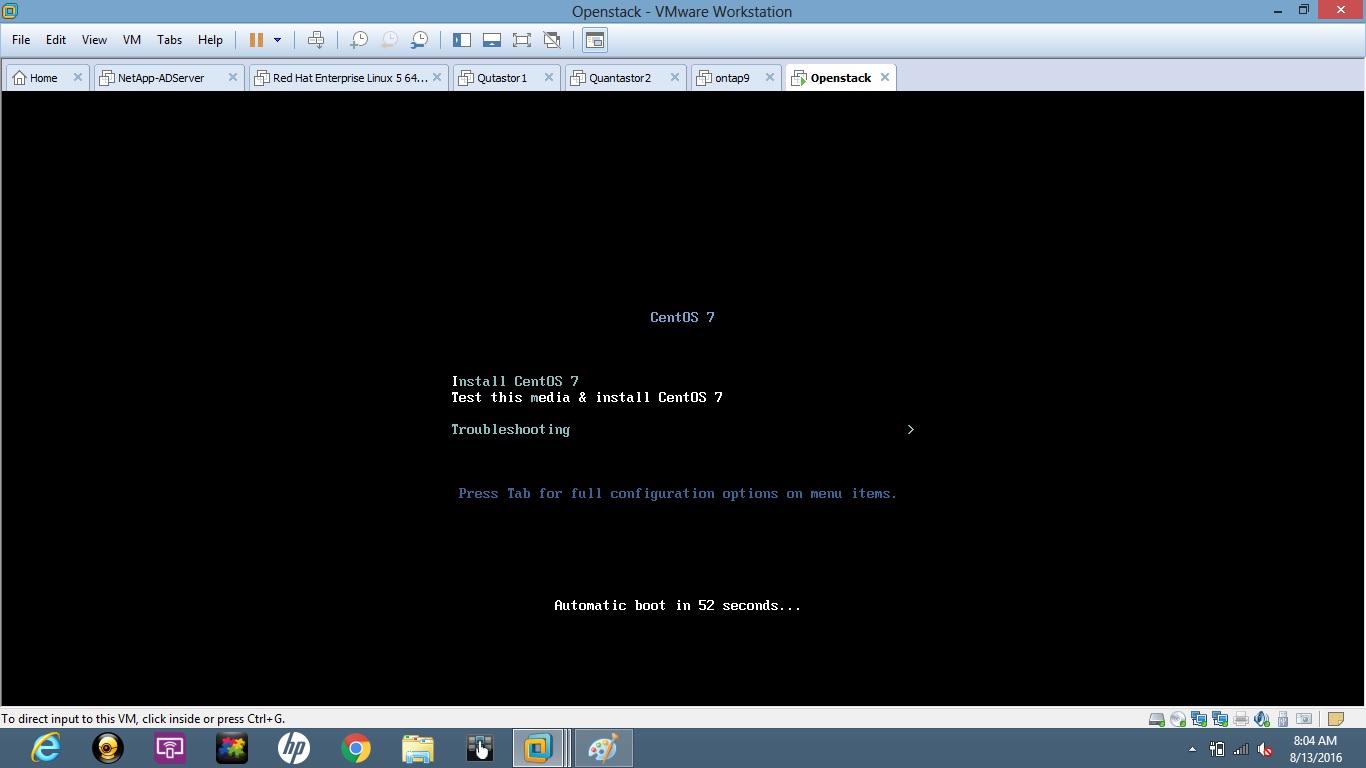


2. Set Date and Time, Software customization and Network configuration.


3. Now install the packages.


4. Once the installation completed successfully, reboot the server.


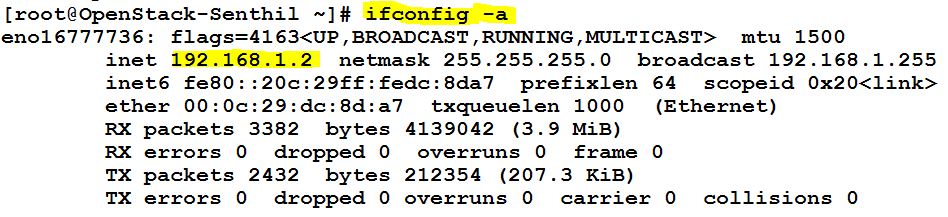
5. Access via remotely, using putty tool (SSH) and check the ipaddress.


6. Set the SElinux parameters.


7. Then stop the firewalld service or write a rule to allow these ports.


8. Stop and disable the Network Manager service.


9. Now update the RPM's using YUM.


10. Upon successful completion of update then install the packstack.


11. Now install the packstack rpm from RDO project, which includes all the software.


12. Then create an answer key file and edit as per your requirements.


13. Install the packstack using the answer key file.
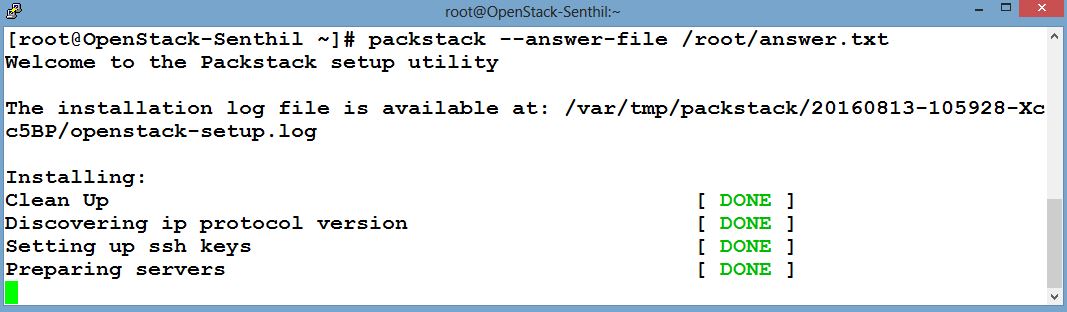


14. Once the installation successfully completed, then you can access the dash board remotely.


14. Now you can access the Horizon Dash remotely and do your configuration.


Thanks.


Friday, August 12, 2016

7-Mode Data Transition to Clustered Data Ontap 9


7-Mode  Transition Tool :


The 7-Mode Transition Tool enables you to assess 7-Mode controllers, hosts, and applications for transition and perform copy-based transitions of FlexVol volumes and configurations from Data ONTAP operating in 7-Mode to new hardware that is running clustered Data ONTAP 8.2.x and 8.3, with minimum client disruption and retention of storage efficiency options.

Transition Fundamentals Categories

  • Includes activities associated with the business decisions that will drive your transition. This involves understanding what applications and workloads are deployed in your 7-Mode environment, what the business requirements are for the transition activity, and how to group systems, applications, or workloads together with a priority of what will move and in what order.
  • Includes activities associated with planning the transition activity and clustered design and architecture. Transition planning encompasses a detailed discovery of the 7-Mode environment and migration planning. Cluster design and architecture encompasses the planning of what cluster capabilities are required to address the migrated workloads and future growth needs.
  • Includes activities involved with deployment and/or configuration of the destination cluster, migration of workloads and data from 7-Mode to clustered Data ONTAP, and updating the operating environment to make sure the NetApp environment and all technologies dependent upon it are working as expected.

1. Check the snapmirror license on both c-mode and 7-mode.


2. In 7-mode select the source volume. In this example i have selected the source volume as vols1.


3. Ping to the cluster's intercluster LIF.


4. List the network interface which has the role intercluster.


5. Create a vserver peer transition relationship between cluster and 7-mode.


6. I have some data files on source volume in 7-mode vols1 volume.


7. Install and Login to the 7MTT tool .


8. First add the storage systems. Add the 7-Mode controller's IP address and Credentials.


9. Same as add the c-mode details.


10. Now we have added the 7-Mode and C-Mode Storage systems to the transition tool.


11. Collect and Assess the selected systems and generate the transition assessment report.


12. Next Plan and Design. Following Two options are available.

      1. Copy Based Transmission
      2. Copy Free Transmission (Connectivity to the 7-Mode Disk shelves to C-Mode)


13. Now Select the source volume.


14. Now select Data copy IP from  7-Mode.


15. Now select destination Cluster SVM (Vserver).


16. Next Map the the source and destination volumes.


17. Network Configuration, select the ports.


18. Now set a schedule for this transition.


19. Plan for your configuration.


20. Go to Migration Dash Board and Pre-check the requirements.


21. Pre-check run all the mandatory requirements on both 7-Mode and C-mode.


22. It checks all the needs, then the color changes to green if all the pre-check with no errors.


23. Then start the base line copy, which creates snapmirror relationship between the 7-mode source volume to c-mode destination volume and copy the data.


24. Once the updates successfully transfer to the destination then pre-cutover starts.


25. Then complete the transition.


26. Now this automatically breaks the snapmirror relationship and offline the source volume.


27. Finally, storage cut over starts.


28. Check the 7-Mode source volume changed to Offline.


29. C-mode it creates the volume and copy all the data.


30. Now you can able to see the 7-Mode data files in C-mode.


Thank You.....